The Crendon Observatory
Building the Crendon Observatory
1) History
Twenty years ago I bought a 3" Zeiss refractor in a photoshop sale. It stood in the conservatory for years: on warm nights it would occaisionally get an airing when the moon or planets were well placed. On the 13th June 1994 I observed something happening at the moon. It was so dramatic that I got my wife and neighbours to look: in my determination to speak with an astronomer there and then I made fourteen telephone calls, the last four being to Hawii where I finally made contact with a lunar astronomer who would look at the moon that night (clouded out). Since I had no means to photograph what we saw I determined to update to something that would permit photography. This was an 8" Celestron schmidt-cassegrain with which I managed some decent pictures of comet Hyakutake but had to set the telescope up and polar align it each evening on the terrace. Why not go mad and buy a 16" altaz Meade LX200 and put it in a garden shed with a roll-off roof? This was a tremendous step forward but if the night was not set 100% fair there was the problem of closing the roof and re-opening. Each time this was done I certainly lost focus and often lost synchronisation. Why not treat yourself to a proper dome?
2) Whereabouts
I live in a house on a slope at the edge of the village. The original building is thatched and there have been several extensions. There are mature trees on three sides so that an observatory would have to be elevated: I also saw it as fundamental that the observatory should be accessible directly from the house. There was only one location where the structure could go and this would entail: 1) Building on what I knew from previous experience was bad ground and 2) Buying a narrow strip of land from a neighbour.
I knew that technically it should be possibleto overcome the ground conditions but could I buy the strip of land? It was owned by a close friend and neighbour and the land was totally useless to him - sounds easy. Hang on - Richard is as generous a "mine host" as you will ever find when he is at home. In business he is a tough dealer (he is also the neighbour who shared my sighting of the event at the moon). After months of negotiations I owned the land and Richard was building a new wing on his villa in Spain!
3) Dome
What sort of dome? After much reading of books I concluded that the over-riding requirement was that, being stuck high up in the air on a very exposed slope, it must be robust. I looked at some fibreglass domes in America but eventually decided on a steel Ash Dome.
4) Construction
a) What Builder
If I had gone to Yellow Pages and asked ten builders to quickly erect a three storey observatory that was deliberately out of square on bad ground with a circular upstand to be let into a conventional tiled roof I think I know the ten answers I would have got. Fortunately I have a builder son Chris. Call it nepotism but I think he is good. I put him on the spot with the blood angle and it was my good fortune that he was just finishing one job and waiting for consent on the next.
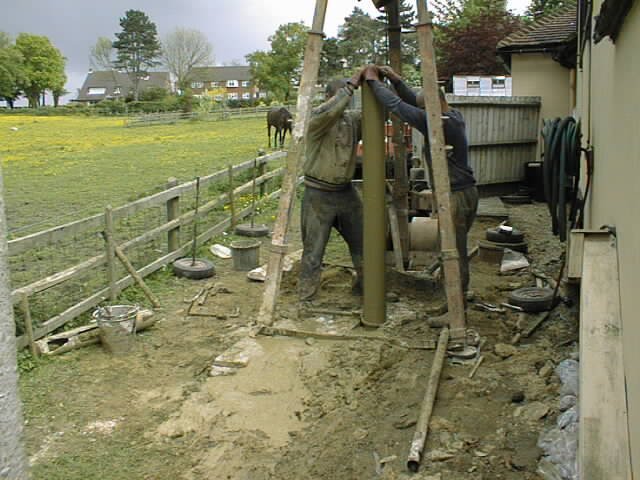
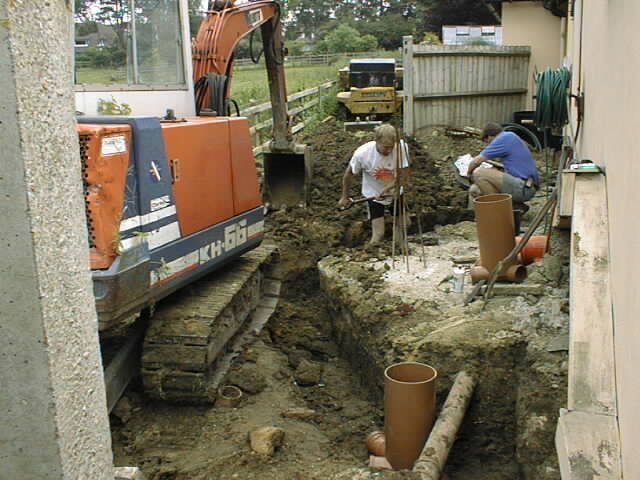
b) Ground conditions
You cannot fool around with telescope pier foundations. Step one, get expert consultants to thrust bore to eleven metres taking regular samples for laboratory analysis. Step two, arrange for expert contractors to design and construct an appropriate footing. This turned out to be three eight metres deep 9" reinforced piles topped with a re-inforced slab.
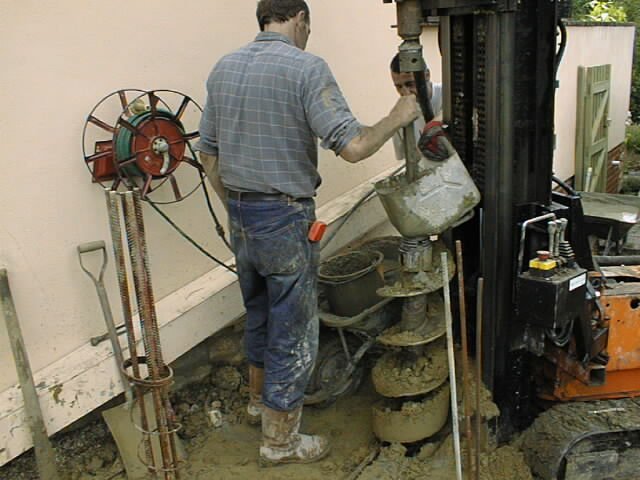
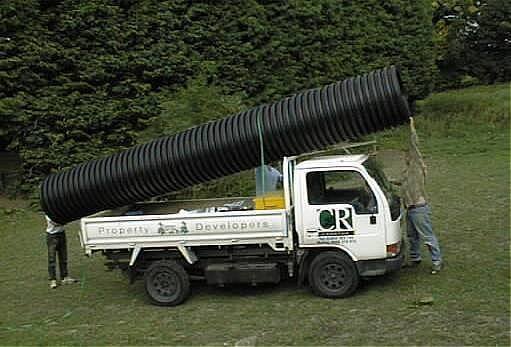
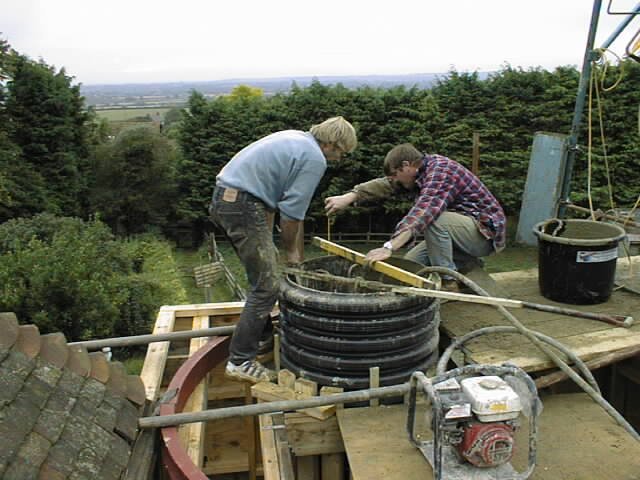
c) The pier
How do you construct a 2'6" concrete pier 18 feet vertically? We discussed many alternatives but eventually settled on a one piece sewer pipe made of plastic but with heavy ribs to give strength. The only way to position this weighty object over the steel re-inforcing was by crane. We very much wanted to cast the pier in one piece but were concerned about containing the concrete at the foot of the pipe - eight tons of "going off" concrete outside the kitchen window would not endear me further to my wife Margaret who is not entirely enamoured of the whole enterprise! Firstly the base of the pier was built round and concreted externally and left to cure for several days. Then the big pour was started to about one quarter height. A sample of the concrete was held back and when this started to stiffen stage two was executed and so on. The pier stood - hooray.
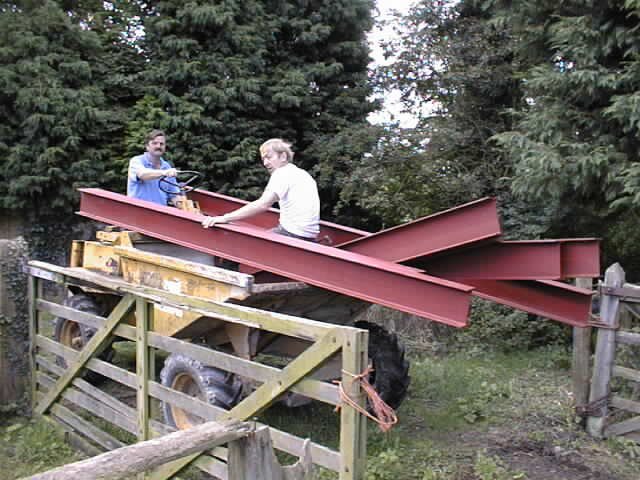
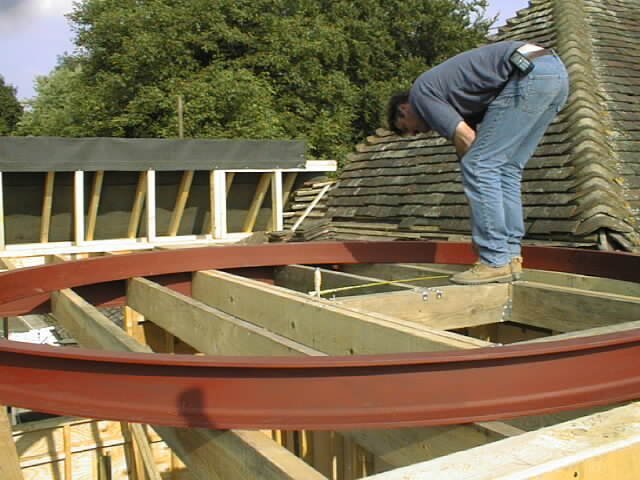
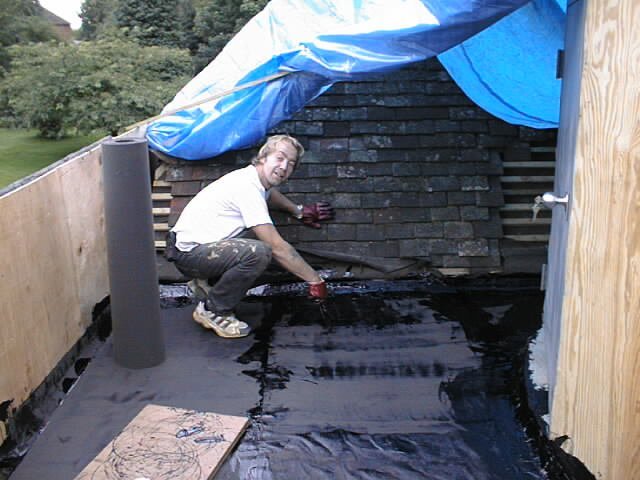
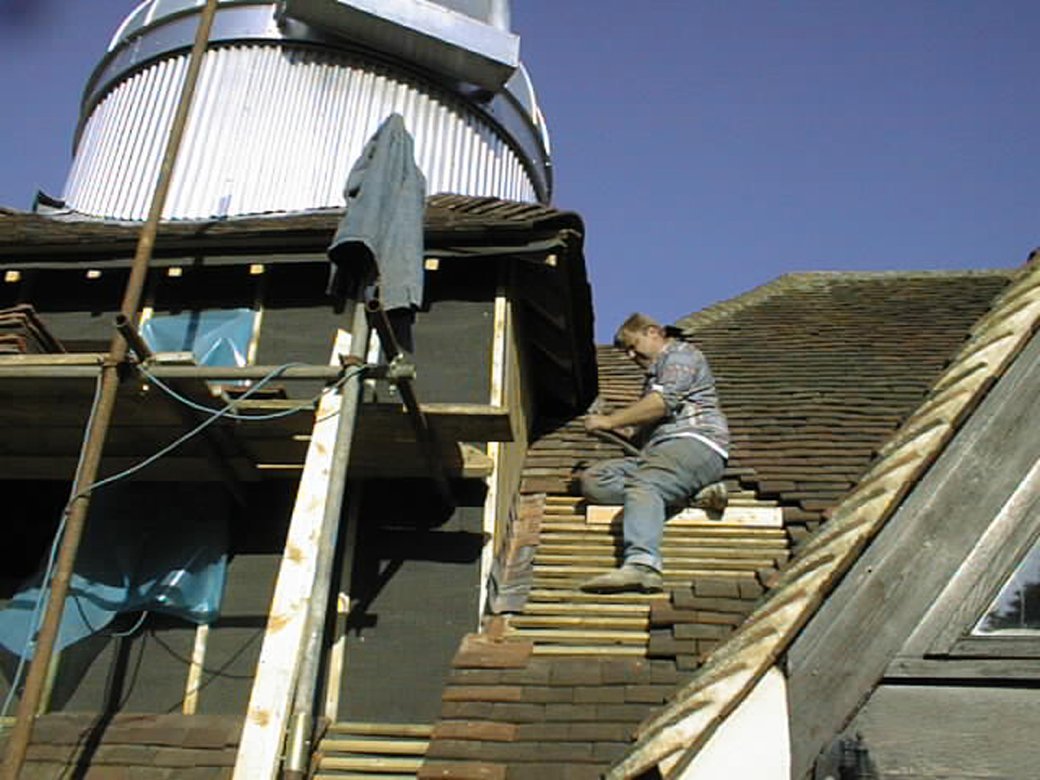
d) General building
I doubt that Chris would call any part of the work general building: virtually every piece of carcass timber had to be individually measured, there were all sorts of irregular abutments, a steel dome ring to design and support, much leadwork where, again, each piece had to be taylor made and a pitch finish flat roof that somehow had to be made weathertight. There is also the building inspector. He scratches his head a bit but generally approves of what is going on. An astronomical dome is a very specialist construction and in every amateur observatory that I have entered you have had to duck. With great ingenuity Chris came up with a scheme for a staircase that would give easy access. I am 6' and would have had clear headroom but two metres was required and there would be no let up on this. Result - access is by ladder - well done.
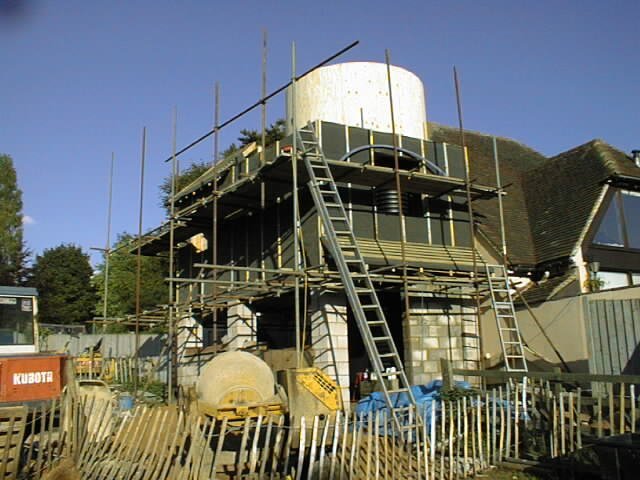
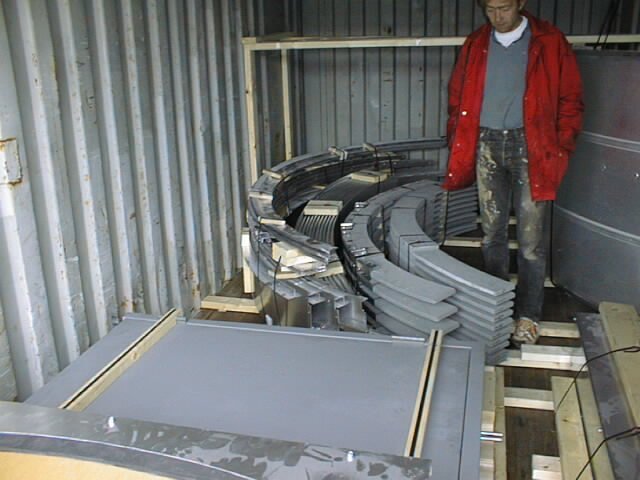
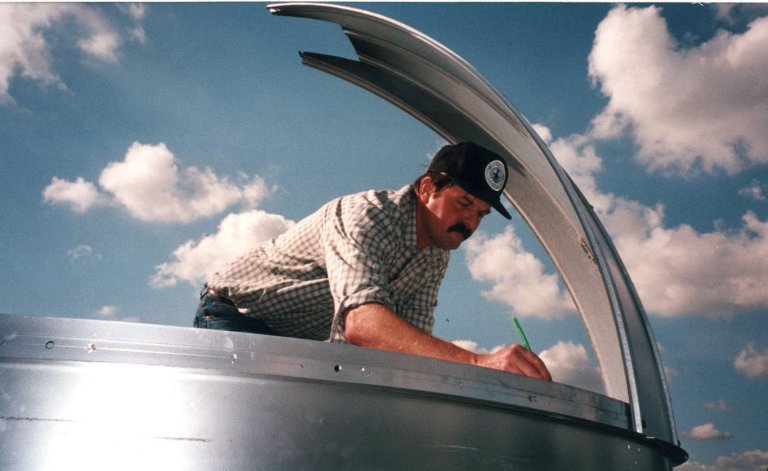
e) The dome
It took two months to carry out the groundwork and three months to get the building ready to receive the dome. Amazingly the container from Illinois arrived five months after being ordered just as it was needed even though it had been held up by a hurricane and Labor Day. Chris has a number one man Terry. We opened up the container and I shall never forget the look on Terry's face when told he had to put it together. It looked so daunting with stacks of bars, sheets, brackets, bolts, unctions and boxes together with a construction manual running to 76 pages. This would be bad enough at ground level let alone 16 feet high. The makers had gone to great pains to ease the construction process. The dome had been assembled at the works prior to despatch so that you knew that holes must align. Parts were very carefully labelled and the instructions thorough. The second most difficult area was getting the base plate precisely level: with this done good speed was then made. The most satisfying part was inserting the dome panels.This was done on a warm and sunny day. The instructions were to slide them together with the help of washing up liquid - it worked and we have a dome. The worst part of the job was installing the shutter. This was on a dark and showery day and a crane was needed. Chris and Terry are inside to instal the rolling gear and I am outside. Just at the wrong moment a squall came through and the force of the wind snatched the shutter and spun it like a top. The crane driver is good and lifts it away returning the piece when it has calmed down. I was greatly relieved on hearing that the shutter was secured.
5) Conclusions
It was worth all the effort. In selecting the shutter assembly I am pleased with the choice I made. I opted for the wider shutter with a lanphier window which can be attached to a metallic screen so that weatherproof observing is possible. This is good for showing friends planets on a cold and windy night but I do not propose a layer of glass for deep space. Having the computer room immediately below the telescope is a boon. Robotoc focussing has taken away a big problem area and I have found a good dodge for training the telescope. Main computer controlled software packages never controlled the telescope as accurately as the telescope handset so I have a tube which permits the handset to be lowered to the computer room - with bung to stop the ascent of warm air.
One unexpected reaction is from the general public. Very much interest is expressed and many want to have a look. Today the farrier putting up a grating just had to see how it worked: last week, the Rastafarian Omega driver and the chimney sweep.
6) Images
|
|
|
|
|
|
|
|
|
|
|
|
|
|
|
|
|
|
|
|